I love yeast dough! I really do. I’m not sure why but I think it’s the fact that it kinda “gives back” what you put into it. Am I making sense? didn’t think so.
You see, yeast dough required patience and knowing which ingredients work together well and which don’t. And when you add the right ingredients in the right order and give the dough the time it needs – you’re fail proof.
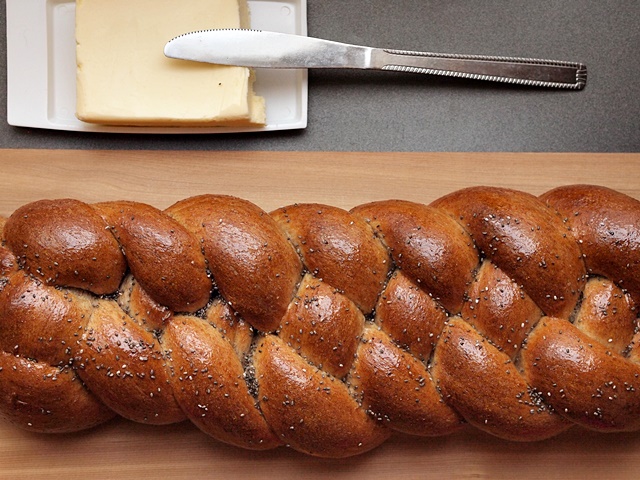
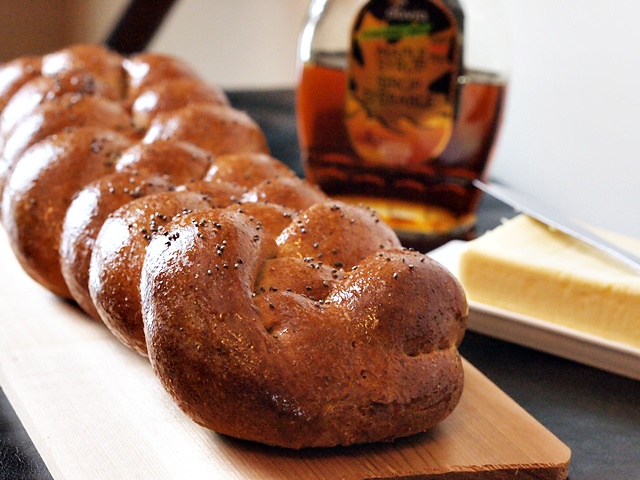
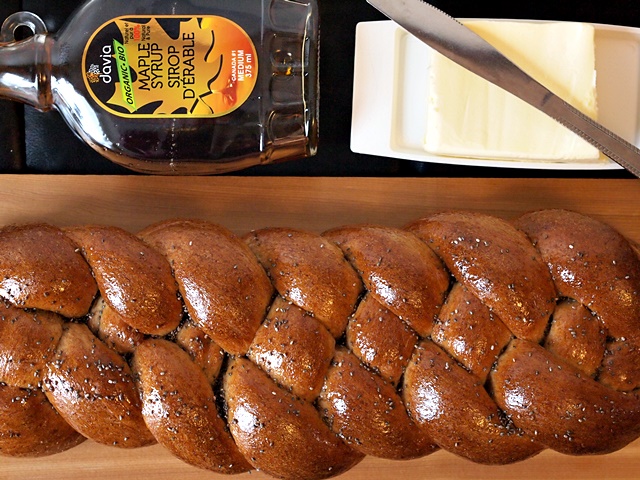
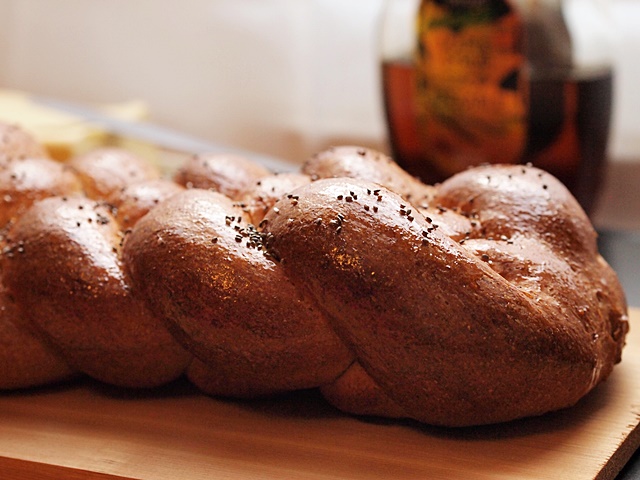
Anyways, enough with my weird mumbling right? I’m here to let you all know that I made a Canadian Braid! I decided to name it that because obviously it has Maple in it, and also, because I like it 🙂
It’s Friday today and usually when I have the time and the muse, I make Challah bread for our Friday dinner. I usually just use sugar in the dough but this time I decided to upgrade with a bit of maple. So there’s maple inside and outside. Yumm.
A few tips before you give this a try though:
1) Since this is made of Whole Wheat flour, please make sure you knead the dough (using your hands or dough hook) a bit longer than usual. It’ll give it more softness and fluffiness once it’s baked.
2) Be patient. Whole Wheat takes a bit longer to rise. So go read a book or something while the dough rises 🙂
3) This dough turns out non tacky at all, but if it does for you from some reason (maybe the flour you’re using or room temperature) just rub your hands with a bit of oil and remove the dough from the hook with oily hands and then pat it with the oil as you place it in a bowl to let it rise. If you add more flour you might end up having a dry challah.
I think this is all. And now, the recipe.
- 500 gr Whole Wheat Flour
- 1 Tbsp Dry Yeast
- 3 Tbsp White Sugar
- 2 Tbsp Maple Syrup
- ⅓ Cup Vegetable Oil (not olive oil)
- ½ tsp Salt
- 1 Cup Water
- 4 Tbsp Maple Syrup
- 2 Tbsp Lukewarm Water
- Place the flour, yeast, sugar, maple, oil and salt in a stand mixer bowl (or large mixing bowl if doing by hand).
- Add in ½ cup lukewarm water and using your dough hook, start mixing on low speed.
- Once it starts incorporating, gradually add in the remaining ½ cup water white mixing.
- Now increase the mixing speed by just a bit and let the mixer do its thing. Mix for about 4 minutes.
- The dough should now be fully incorporated, separated from the bowl and wrapped around the dough hook.
- Remove the dough from the hook and knead by hand a few times.
- Shape as ball and place back in the bowl and cover the bowl with plastic wrap.
- Let the dough rest and rise until it doubles its size (about 1 hour).
- After the dough had doubled its size, remove it from the bowl and divide into the the number of strands you'd like to make your challah with (I made it with 4 so divided the dough into 4 pieces).
- Roll each piece of dough into a strand. Pinch all strands together before shaping (you don't want the braid to open while baking).
- Once done shaping, place the braided challah on a baking sheet layered with parchment paper and cover with a clean kitchen towel and set a side.
- Let the challah rest and rise again. This should take about 40 minutes now.
- Preheat oven to 190C (375F) and after 40 minutes, remove the towel and gently place the challah in the oven for baking.
- Bake 20 minutes until it's nice and brown.
- While the challah is in the over prepare the glaze by simply placing the maple syrup and water in a small saucepan and heating on medium heat while stirring, until it start to boil. Remove from heat immediately.
- After 20 minutes, remove the challah from the oven (you'll know it's ready if when you tap on it you hear a hollow sound) and immediately brush with the maple glaze (while the challah is still hot).
- Let the challah cool completely & enjoy.
Oh – I love a little bit of maple syrup! This one looks fun – will definitely have to keep it in mind!
Oh you’ll love this one 🙂